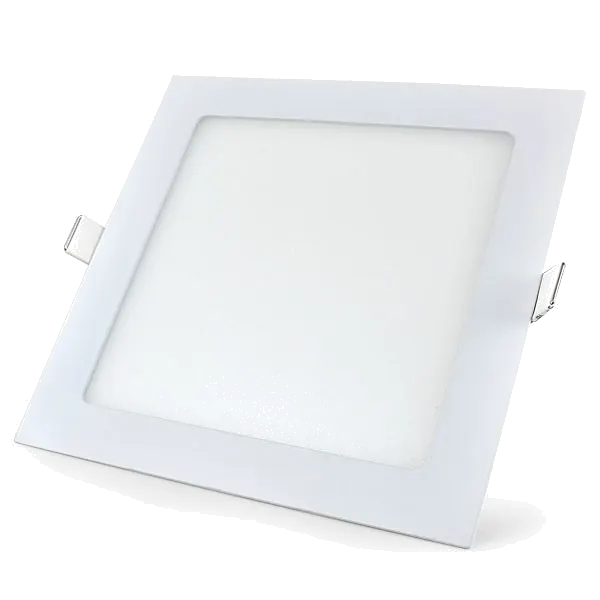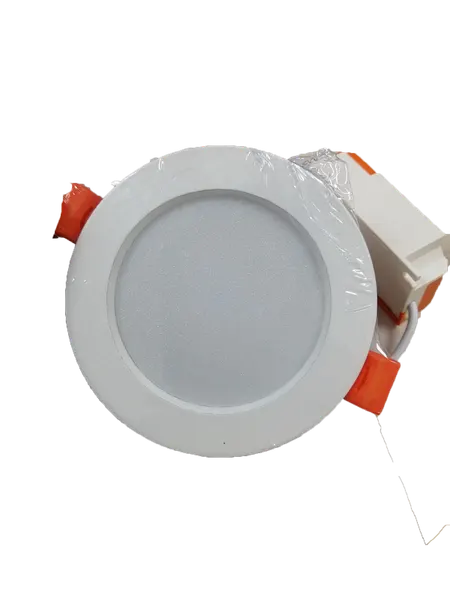
Ultimate guide on COB LED DownLight
By 123 LED Lighting · First published · 2 min read
This article is from our archive (2020). Products, prices and details mentioned may have changed since: see the shop for current products and prices, or WhatsApp us.
COB represents
Chip On Board, Which provides many times more light sources in the same area than that of standard LEDs could occupy. Also, it can reduce the heat generated from each LED Chip.
Downlight represents
Recessed Ceiling Light, but some people prefer to call it as DownLight. They are installed into the ceiling.
Advantage of using any LED Lights:
- High Brightness,
- High CRI,
- Energy Saving,
- Long Working Life
Advantage for installing using the Recessed method:
The LED Downlight will be align against the wall, which will provide a minimalist style and make the room seems bigger. If you want to know more, We have an article about the Difference between Surface Mounted and Recessed LED Ceiling Light, feel free to take a look.
Advantage of using COB Led DownLight provided by us:
- High Quality and cheap
- 2 Years of Warranty for any COB LED Downlight that is purchased from us
- Easy Installation (We will provide you with a step by step guide, additionally we also have onsite installation service available)
- The COB Led DownLight will be able to tilt about 45 degrees.
Power
The amount of power that we offer is: 3W, 6W, 9W and 12W
Model Colour
We only have one Model Colour currently, which is White
Colour Output
The Colour Output that we offer is: Pure White (6000K), Warm White (4000K) and Neutral White (3000K)
COB LED DownLight -- Things to take note of
- During installing, repairing, and maintaining, please remember to cut off the circuit and ask help from the professionals
- Voltage Range: 170V-240V
- Should not be installed on the open, on objects with high temperature, or in damp areas.
- Should not dismantle and cover with any material.
COB LED DownLight -- Step by step guide to buide
Step 1: Make sure that the tip of the wire is straight before continue to the next step.
Step 2: Connect both wires to the connector, it doesn’t matter which is live and which is neutral. Also do note that if it is the rubber part getting clamp, there will be no light produced.
Step 3: Now you can power on, and there should be light produced from the product.