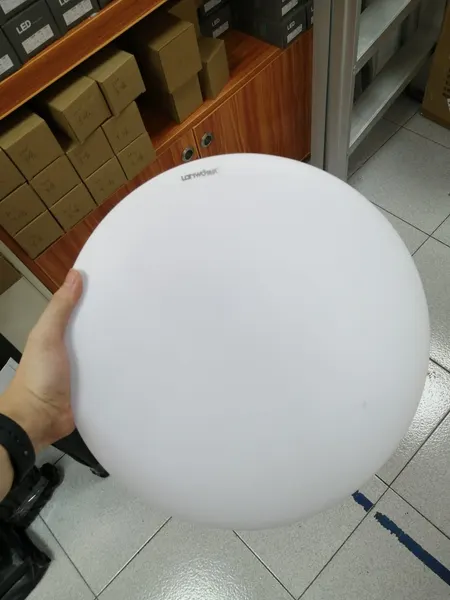
Ultimate guide on LED Ceiling Light
By 123 LED Lighting · First published · 2 min read
This article is from our archive (2020). Products, prices and details mentioned may have changed since: see the shop for current products and prices, or WhatsApp us.
The ultimate guide on LED Ceiling Light
In this article, which is the Ultimate Guide on LED Ceiling Light. we aimed to give you the clearest idea of what is it, how to use it and most importantly, let you have the knowledge to know whether is this lighting product suits you.
Advantage for getting any LED Light:
- High Brightness,
- High CRI,
- Energy Saving,
- Long Working Life
The advantage for getting LED Ceiling Light:
- 80% of Energy Saving
- Total use time is 25000H
- 75 Lumen/W
- CRI is Bigger or Equals to 73
- 120-degree lights
The advantage of installing using the Surface Mounting method:
The LED Downlight will be placed directly below the wall and have the minimum damage to the walls that it is mounted on, and this provides an easier replacement for another size and design. At the same time, it will be more flexible when it comes to the placement of the lightings. If you are interested in knowing more, We have an article that talks about the Difference between Surface Mounted and Recessed LED Ceiling Light, feel free to take a look.
Colour
Pure White – Modern style with a fresh glow. These are great for Bathrooms, kitchens and work spaces.
Natural White – Famous for being comfortable while mimicking natural light. An in-between of pure white and warm white.
Warm White – Creates a cozy ambience for people to gather and relax. Great for living rooms, bedrooms and dining rooms.
Model
Round
Voltage
The suitable Voltage range is 85-265V. Anything beyond or below than it might have problem when operating the recessed LED Downlight.
Wattage
24W and 36W
Things to take note of
When issues occur when you are using our LED Ceiling Light, it would be best to seek help from us directly.
LED Ceiling Light -- Step by Step Guide to build
Step 1: Turn the back casing in anti-clockwise direction to unlock it
Step 2: Now unlock the pin connector by pressing and pulling the orange pin.
Step 3: Ensure that the tip of the wire is straightened before proceeding.
Step 4: Now connect it to the connector, and combine the wire together.
Step 5: Now you can turn on the power button and it should be working.